
School Website
Your School website is built on the WordPress platform, the most popular Content Management System (CMS) in the world and is used by nearly 75 million websites. Because it is so widely used there are tons of resources out there to help you master the platform. One great resource is Lynda.com but since each installation can work and look a little differently here on the DES site you'll find quick tips and how-tos specific to our district sites.
Login
Before Starting: Log into the Staff Portal
Alternatively, scroll down to the bottom of the site you wish to edit and click the Login button.
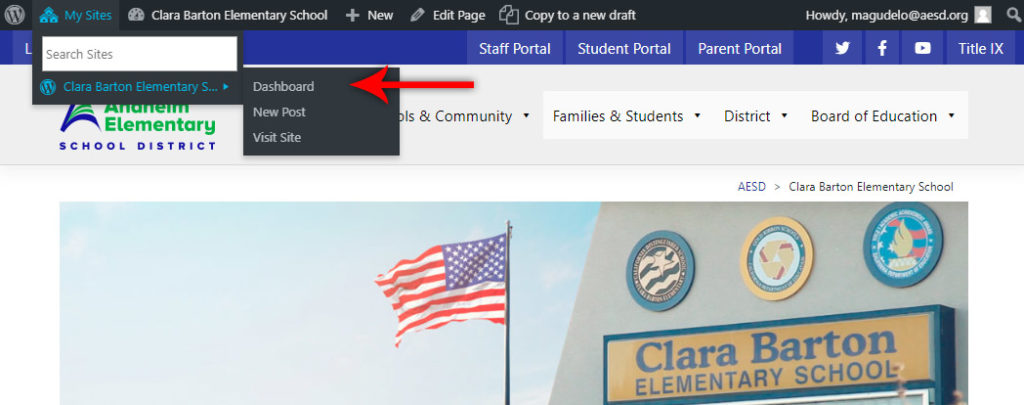
To access your sites Admin Dashboard use the black admin bar at the top of the screen.
NEW TO EDITING?
If you are new to editing a site, your @aesd.org email address will need to be added to each site you wish to have editing rights to.
Contact the district Web Developer for assistance.
After you are logged in if you have access to edit a site, you will see it listed under "My Sites" at the top left of your site.
Don't See the black bar "Admin Dashboard" at the top of the page?
Try Ctrl + Shift + R to reload the page and override your browsers cache.

Getting Started

Home Page
Here you’ll learn where and how you can make changes to items on the Home Page of your site including:
- Image Sliders
- School Site Navigation Menu
- The “A Word From Our Principal” section
- School News Section
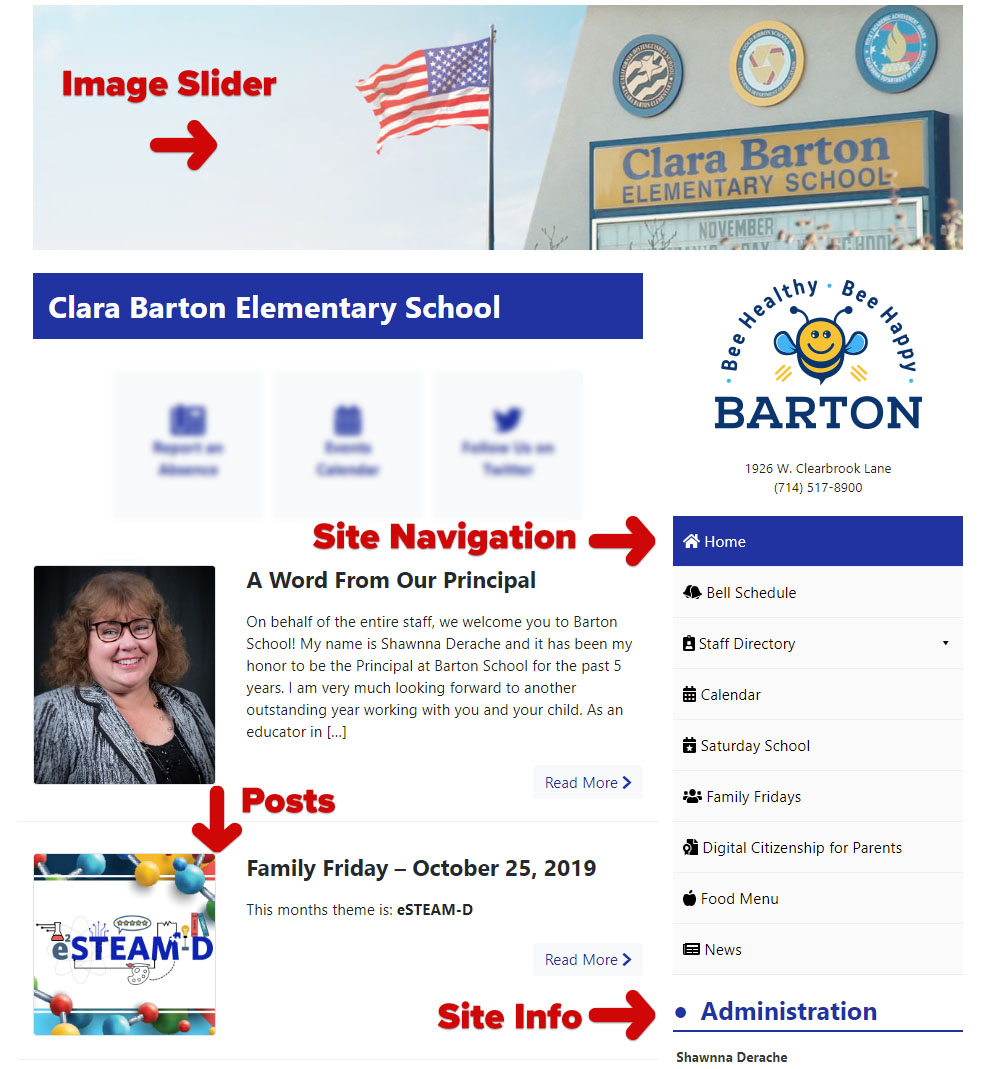
Image Slider
To add/remove images from the large image slider on the home page follow these steps.
From the Admin Dashboard click Meta Slider Pro
From the Available Sliders at the top make sure the “Home Slider” is selected.
To Add Images
- Click "Add Slide"
- Select an image from your computer
- Click Save
To Remove Images
- Hover over the image thumbnail and click the red Trashcan icon
- Click Save
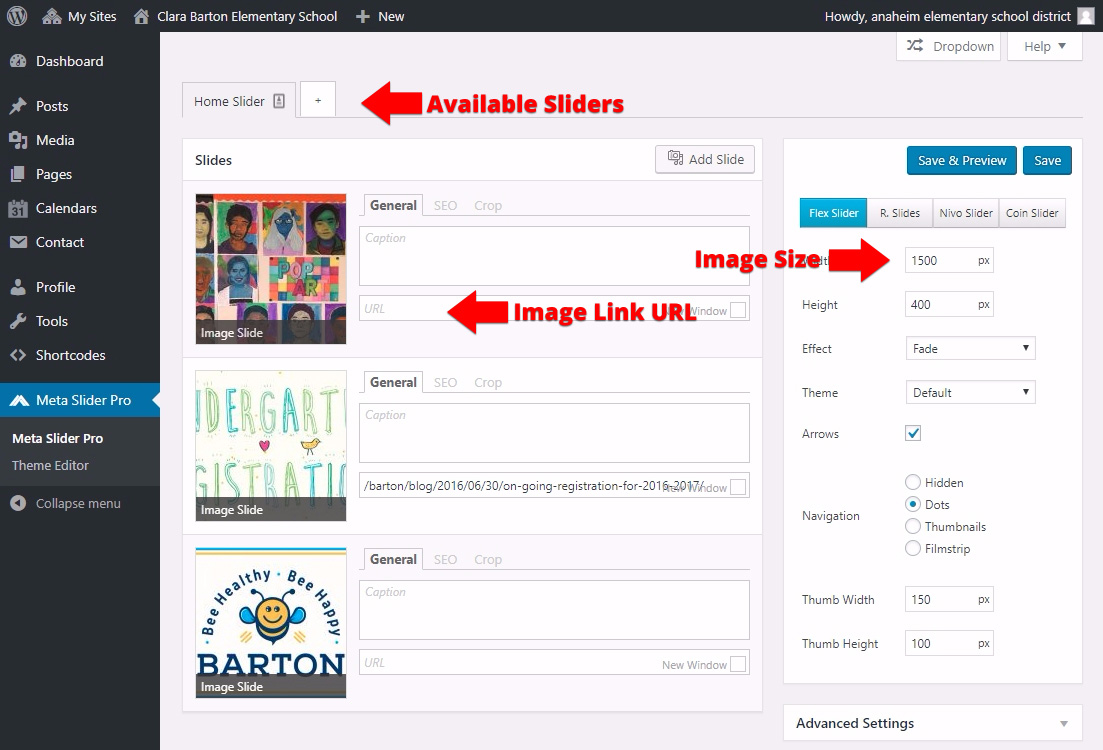
Important:
Images for the homepage slider should be EXACTLY 1110 x 290 px
Do not rename the slider. This will cause the slider to not load on your home page.
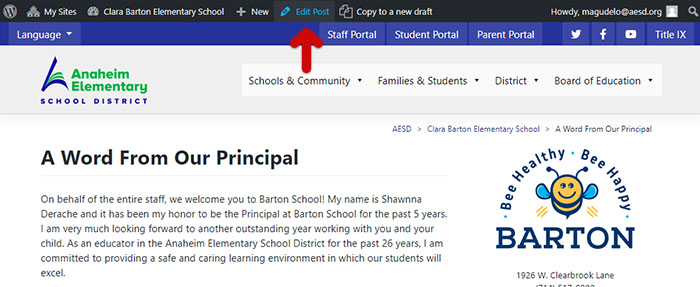
A Word From Our Principal
To edit the "A Word From Our Principal" message on the home page follow these steps:
- Click the "Read More" to navigate to the full posts
- At the top in the black Admin Bar click Edit Post
- Make changes to the main post content
- Make changes to the Post Excerpt in the Document panel if necessary
- Save your changes
- Check your website home page to check the results.
Site Navigation Menu
As a site editor, you do not have access to add items to navigation menus. If you'd like something added to your school's navigation area please contact the District Web Developer.
School News Section
To add news stories to the home page simply add a new post. To do this follow the steps on the News Articles tutorial

News Articles
News articles aka "Posts" appear on the home page under the "Message from our Principal"
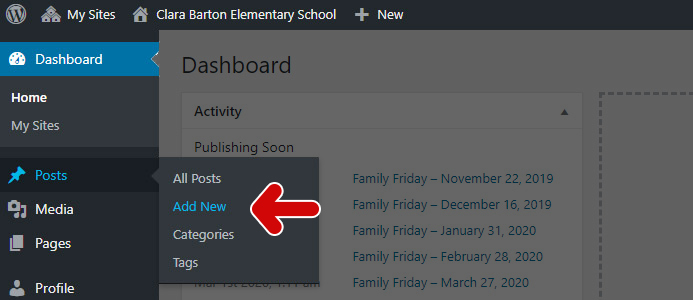
Creating a Post
From the Dashboard of your site under the Post menu options click Add New
Add Content
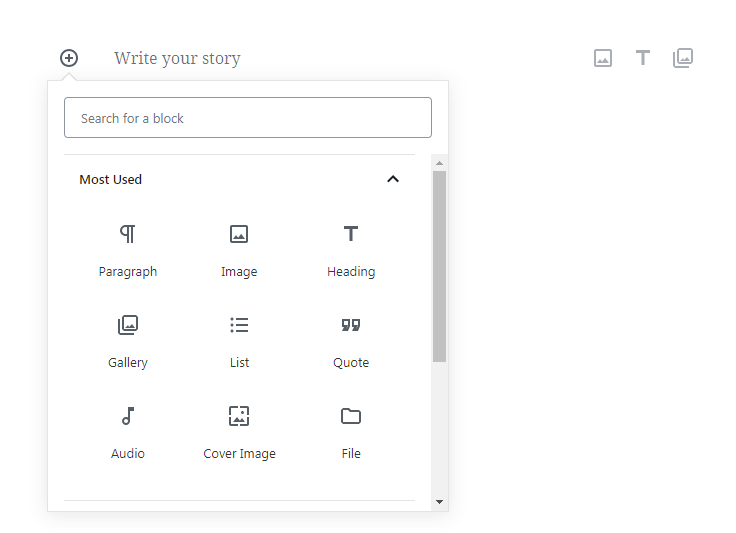
Blocks
As of January 2019, WordPress 5.0 brings along one major update – the new Gutenberg editor. Gutenberg helps you create content in a more visual way than the previous TinyMCE editor. To do this, it provides a library of pre-built elements, or ‘blocks’. Each block can be added to a page or post and customized. There are blocks to handle basic components such as text and images, as well as some that provide advanced features (such as buttons and tables).
1 Start with a title block
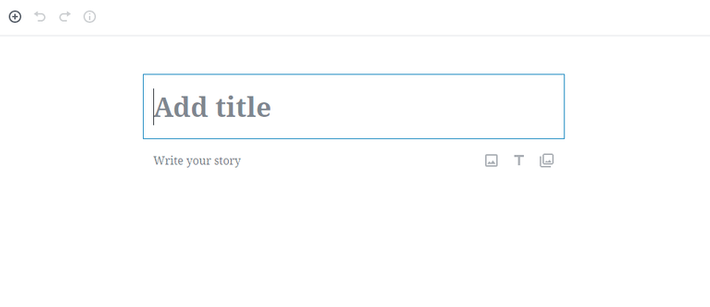
2 Add some text using the Paragraph Block
3 Add other Blocks as you need them.
Add single images, image galleries, columns, quotes, buttons, videos, and many other blocks of content.
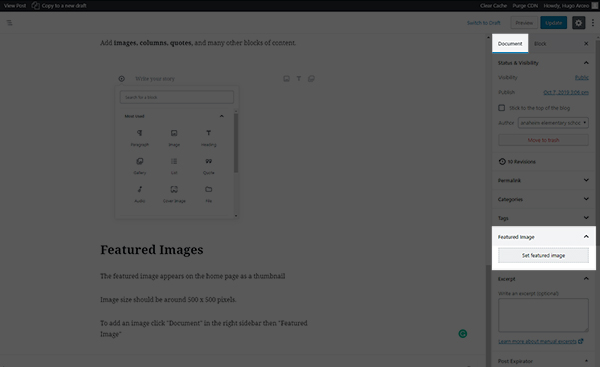
Featured Images
The featured image appears on the home page as a thumbnail
Image size should be around 500 x 500 pixels.
To add an image click Document in the right sidebar then Featured Image to upload or select an image from the media library.
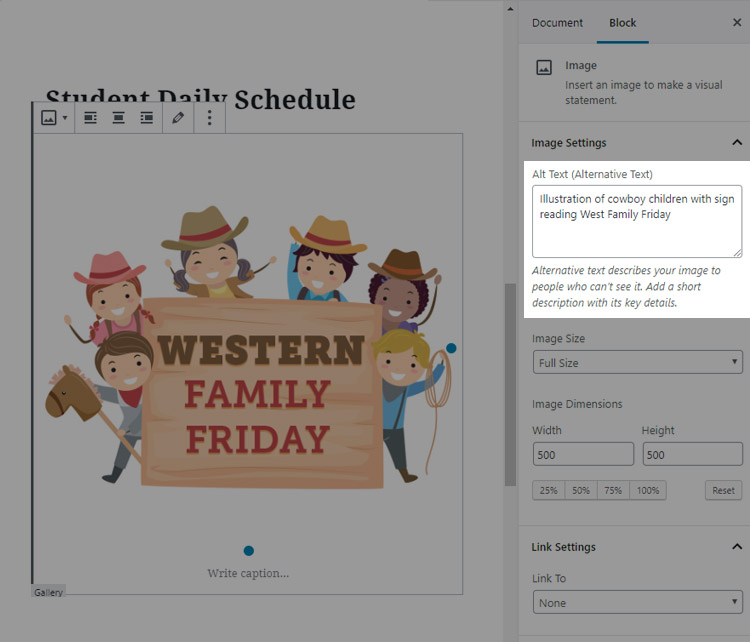
Alt Text for Images
Alt-text is REQUIRED on all images
All images need to have an alt description. Alt text (alternative text) is used within the website's code to describe the appearance and function of an image on a page. Alt text is read by screen readers for the visually impaired as well as search engines.
Example Alt Text
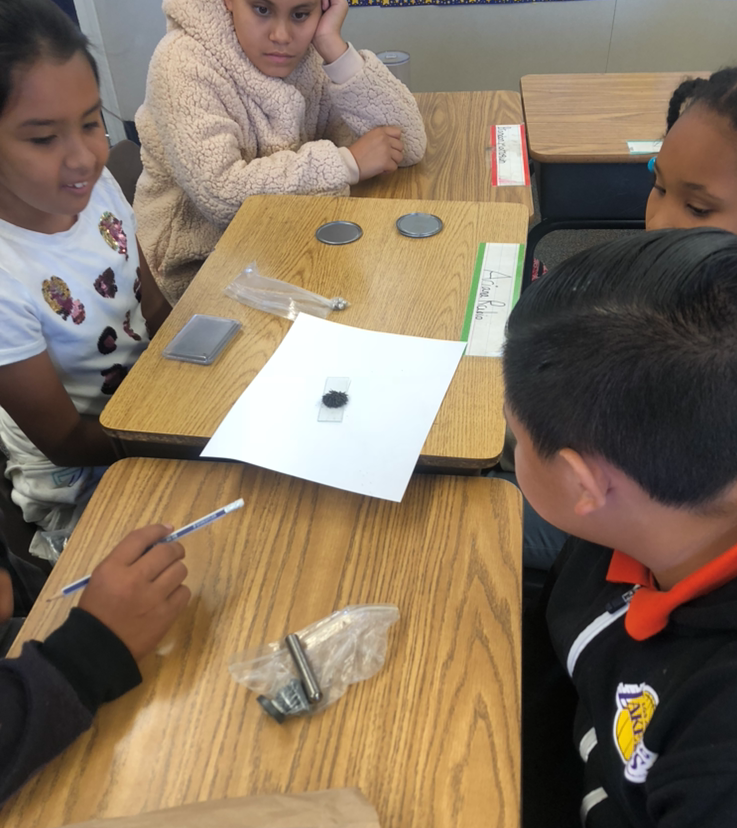
OKAY: Students
This alt text is only "okay" because it's not very descriptive. Yes, this is an image of students. But, there's more to be said about this image.
BETTER: 5 Students learning about magnetic fields using iron flakes and magnets.
This alt text is a better alternative because it is far more descriptive of what's in the image. This isn't just a stack "students" (as the first alt text example demonstrated); it's a group of students learning about magnetic fields using iron flakes.
There are several opportunities to add alt text working with images.
All text box while editing a post 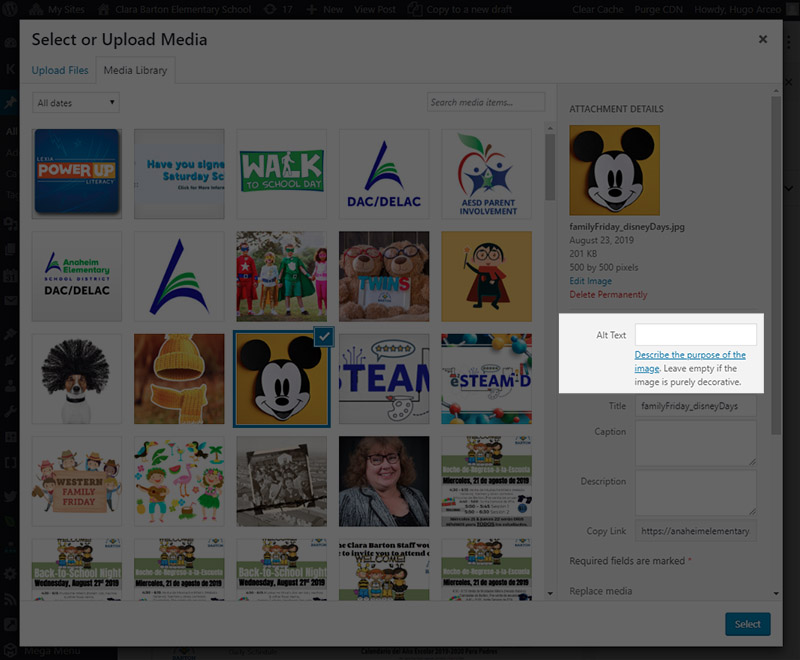
Alt box when uploading or in the media library
Limitations
- Image sizes cannot exceed 1MB.
- PDFs cannot be uploaded. Instead, upload to your Google Drive and link to the file using a button block.
Creating AMAZING post
- Take the time to type out content from a flyer vs just uploading a jpg.
- Always include at least a few lines of text vs just a gallery of images.
- Take the time to rename images before uploading
- Do not hesitate to reach out for help.
Editing Existing Post
Find the post title on the All Post page and click the title.
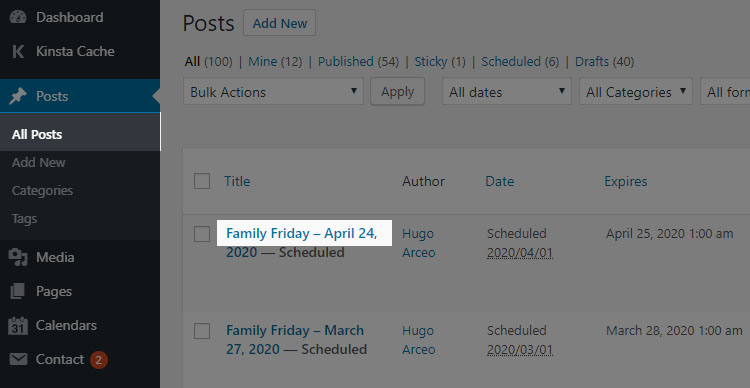
NOTE: Some posts are shared across multiples schools (e.g. Summer camp, Board Notifications etc ). Do not edit any posts that are shared. If unsure if a post is shared do not edit it.
PDFs, Images & Other Documents
Images
- Prepare your image: Resize, Crop or Edit and rename files. Consider using Pixlr Image Editor for or other photo editing software.
- From a post or page in the admin area add a new Image Block.
- From the window that pops up you can:
- Drag your image onto the panel or
- Click "Upload Files" followed by "Select File" then locate your file.
NOTE:
File upload size is limited to 0.8 Mb per image.
To Upload files, the file needs to be on your physical hard drive not in any cloud service like Google Drive.
PDF Documents
Due to size and security PDFs can only be linked to from another source like a Google Drive.
- Using Google Drive
- Add your PDF to Google Drive.
- Change the Share settings on that document to "Visible by Anyone with the Link"
- Copy the link
- Back in the website Admin Panel
- From your website add the text you want to be clicked or a Button Block to link to your pdf
- Fill out the Text to be viewed and Link to PDF boxes